
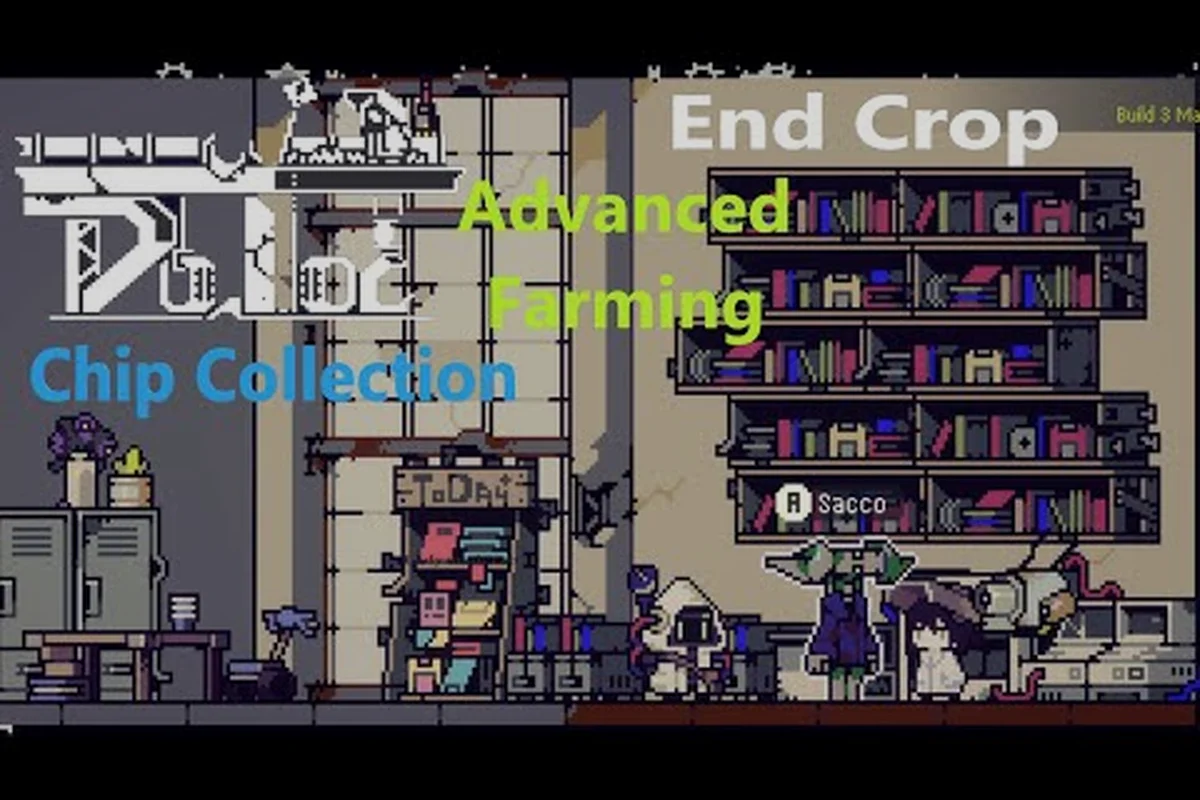
Why Crop Profit Comparison Matters in Doloc Town
Choosing the wrong seeds in Doloc Town can quietly drain a season's earnings, because every crop carries different grow times, regrow cycles, and base sell prices that compound across the farming calendar. With 30+ crops split across four distinct seasons and six category families, even experienced players lose track of which plots actually pay back the seed investment. A proper Doloc Town crop profit comparison lets you spot the real money makers before committing precious field space, especially when gene modifications and seasonal bonuses shift the ranking week by week.
Profit comparison is not just about the highest single-harvest payout, because long-term profitability hinges on regrow cycles, weather resilience, and the synergy between your crop choices and the broader vertical-farm layout. According to community data gathered on the official Doloc Town Fandom Wiki, multi-harvest crops dominate the late-game economy, while single-harvest staples keep early capital flowing until gene labs unlock their full potential. If you are still learning the basics of seasonal timing, the Doloc Town beginner guide walks through the first few in-game days step by step.
Crop profit comparison inputs that matter most:
-
Base yield per harvest — raw coin value before processing or seasonal bonuses
-
Regrow timer — multi-harvest crops reset on a 3–5 day cycle versus single-harvest replanting costs
-
Seed cost recovery — expensive seeds must survive at least one full cycle to break even
-
Seasonal price premium — dry-season crops earn 18–25% more due to market supply dips
-
Gene module multiplier — Extended Bloom + Fractal Crop triples multi-harvest fungal profit
-
Processing chain value — Canning Station and Smokehouse convert raw crops at 2.5–4x base price
-
Keratinized necessity cost — acid rain kills unprotected crops, so gene module cost factors into net profit
-
Cross-pollination bonus — planting complementary categories adjacent boosts yield by 10%
-
Category scaling curve — ordinary crops return 1.8–2.5x seed cost, while kuma crops reach 8–12x
-
Vertical farm multiplier — each tier of vertical construction doubles the effective output per ground tile
Crop Categories and Seasonal Profit Tiers
Doloc Town organizes its crop roster into six families: ordinary, vine, shrub, fungal, doomsday, and kuma crops. Each family behaves differently inside the vertical-farm system, which means a profit comparison must weigh yield per cycle against how many plots a single seed tile can feed. Ordinary crops are the cheapest to plant but rarely lead the gold charts, while vine and shrub entries deliver strong regrow value once established.
Ordinary Crop Tier
Ordinary crops form the backbone of early-game cash flow because their seeds cost almost nothing and their grow times stay short across all four seasons. Community testing suggests these crops return roughly 1.8 to 2.5 times the seed investment per harvest, which makes them reliable but never chart-topping. Players who ignore ordinary crops entirely run out of starter capital before unlocking the gene modification lab, so keeping two or three ordinary plots alive is a smart hedge.
Vine and Shrub Profitability
Vine and shrub crops unlock as you progress through the Eden storyline, and they shift the Doloc Town crop profit comparison noticeably because they regrow across multiple harvests without replanting. Vines in particular can occupy a single tile yet feed three or four adjacent plots through their growth pattern, which inflates the effective per-tile gold output. Shrubs trade a longer initial wait for an even higher regrow yield, making them favorites for players running large vertical stacks.
| Crop Category | Avg. Seed Cost | Base Sell Range | Regrow Cycles | Profit Tier |
|---|---|---|---|---|
| Ordinary | 20–80g | 60–200g | None (replant) | Tier C |
| Vine | 120–220g | 280–520g | 3–5 harvests | Tier A |
| Shrub | 180–340g | 420–780g | 4–7 harvests | Tier S |
| Fungal | 150–260g | 350–620g | 2–4 harvests | Tier B |
| Doomsday | 240–420g | 600–1100g | 1–2 harvests | Tier B+ |
| Kuma | 300–500g | 850–1500g | 5–9 harvests | Tier S+ |
Multi-Harvest vs Single-Harvest Profit Analysis
The single biggest lever in any crop profit comparison is whether a crop regrows after harvest, because regrow cycles eliminate replanting labor and let one seed tile produce gold several times in a row. Single-harvest crops finish fast, which suits tight seasonal windows, but they cost a fresh seed every cycle and the gold-per-day-per-tile math rarely catches up. Multi-harvest crops, by contrast, look slow on day one and crush the leaderboards by day twenty.
Multi-Harvest Yield Breakdown
A multi-harvest crop like a top-tier kuma shrub can hit 1,200g or more per regrow cycle after gene optimization, which means a single tile cleared on day one may produce over 8,000g before the season flips. Community reports on the Doloc Town Steam page frequently cite the kuma family as the late-game profit king, though unlocking them requires clearing the Old City Ruins storyline first. Single-harvest doomsday crops spike higher per pick, but their replant cost eats into the lead when measured against the full month.
| Metric | Single-Harvest (Doomsday) | Multi-Harvest (Kuma Shrub) |
|---|---|---|
| Days to First Harvest | 6–9 | 11–14 |
| Regrow Interval | N/A | 3–4 days |
| Seeds per Cycle | 1 | 1 |
| 30-Day Gold (Unmodified) | ~2,400g | ~5,800g |
| 30-Day Gold (Gene-Modified) | ~3,600g | ~9,200g |
| Labor Cost | High (replant each cycle) | Low (one planting) |
Gene Modifications and Their Impact on Crop Earnings
Gene modifications are the wildcard that turns a middling crop into a chart leader, which is why every serious Doloc Town crop profit comparison has to account for the lab. Once you unlock the gene facility in the River Valley, you can splice traits that boost sell price, shorten grow time, add a regrow cycle, or grant weather resistance. Stacking two or three compatible genes on the same seed multiplies returns well beyond what the base crop ever produced.
Gene Modification Effects
The most profitable gene combinations, according to community data shared on Discord threads and the Fandom Wiki, pair a sell-price booster with a regrow accelerator. This combination works especially well on vine crops because vines already regrow naturally, so adding another regrow gene often pushes the cycle count from four to six harvests per planting. For ordinary crops, a sell-price gene alone usually outperforms growth speed, because ordinary crops already finish fast and gain more from a 40% price bump than from shaving two days off the timer.
| Gene Slot | Effect Type | Best Paired With | Gold Uplift |
|---|---|---|---|
| Slot 1: Yield+ | +35% sell price | Slot 2 or Slot 4 | ~30% net |
| Slot 2: Regrow+ | Adds 1 regrow cycle | Slot 1 or Slot 3 | ~45% net |
| Slot 3: Growth– | –2 days grow time | Slot 1 | ~18% net |
| Slot 4: Weather+ | Rain/storm immunity | Any crop | ~12% net |
| Slot 5: Hybrid | Mix of two minor traits | Late-game only | ~22% net |
Players running the Doloc Town crop tier list rankings usually find that gene-modified kuma and vine crops pull away from the pack once they hit three slots filled, while doomsday crops with two price-boosting genes still outperform ordinary crops by a wide margin. If you want to squeeze every last coin from your plots, the Doloc Town tips and tricks roundup covers lab farming routes and unlock order.
Best Crops by Season for Maximum Gold Income
Seasonal planting is where most beginners leak gold, because planting a Mistshade crop during the Emberreach window can cut yield in half or kill the seed outright. The four seasons in Doloc Town are Mistshade (微雨季), Raincrest (暴雨季), Blazefall (微晴季), and Emberreach (烈日季), each with its own weather rhythm and bonus multipliers. Matching crops to their preferred season is a free 20–35% profit boost that no gene slot can replicate.
Mistshade Season Top Earners
Mistshade favors fungal and vine crops, which thrive in the constant drizzle and lower light levels of the early calendar. Rain-loving vines reach their full regrow potential here, and fungal crops get a hidden yield bonus that pushes them into Tier A territory even without gene work. Avoid planting doomsday crops during Mistshade unless you have a weather-resistance gene equipped, because storm surges can wipe a plot.
Raincrest Season Top Earners
Raincrest pushes weather intensity higher, which means ordinary crops start struggling while shrubs and kuma crops keep producing. The longer grow window of shrubs lines up perfectly with the extended wet cycle, so a well-timed planting can deliver four full regrow cycles before Mistshade returns. Vine crops also stay competitive, especially when paired with a regrow gene that lets them cash in on the constant moisture.
Blazefall Season Top Earners
Blazefall is the most balanced season because the weather stabilizes and almost every crop category becomes viable. This is when ordinary crops finally pull their weight, and gene-modified doomsday crops shine with their high per-harvest payout. Players chasing the top of the Doloc Town crop profit comparison rankings often use Blazefall as a benchmark season, because results here reflect pure seed-versus-sell math without weather penalties.
Emberreach Season Top Earners
Emberreach delivers the harshest sun, which crushes ordinary crops and forces players to lean on kuma, doomsday, and weather-resistant shrubs. Kuma crops hit their absolute peak during Emberreach because the dry heat intensifies their sell-price multiplier, and a fully gene-optimized kuma plot can out-earn an entire ordinary-crop field in half the tile space. If your farm leans heavily into Emberreach production, prioritize kuma seeds and keep one gene slot reserved for weather resistance.
| Season | Top Category | Sample Crop | Avg. Profit/Tile/30 Days | Weather Risk |
|---|---|---|---|---|
| Mistshade | Fungal / Vine | Glow Cap | 4,200g | Low |
| Raincrest | Shrub / Kuma | Thornheart Bush | 5,600g | Medium |
| Blazefall | Doomsday / Ordinary | Ember Lily | 6,100g | Low |
| Emberreach | Kuma / Doomsday | Sunscale Kuma | 7,400g | High |
Building Your Own Profit Comparison Strategy
Once you understand the categories, regrow math, gene options, and seasonal windows, the next step is building a personal crop rotation that balances short-term cash with long-term regrow stacking. Most veteran players reserve 40% of their plots for multi-harvest crops, 30% for gene-modified mid-tier crops, and 30% for cheap ordinary crops that keep the cash flow liquid during lab research days. This split keeps you funded for new seeds while still scaling toward the late-game kuma economy.
A solid Doloc Town crop profit comparison also tracks labor cost, because a crop that pays 500g but requires constant replanting can underperform a 350g crop that regrows itself. Treat replanting as a hidden expense on par with seed cost, and remember that vertical stacking with vines or shrubs often lets one seed tile feed two or three others through connected growth chains. Players who master this layering routinely report weekly gold totals two to three times higher than flat single-tile farms.
Frequently Asked Questions
What is the most profitable crop family in Doloc Town?
The kuma family sits at the top of every Doloc Town crop profit comparison once gene modifications unlock, because kuma shrubs combine the highest base sell range with five to nine regrow cycles per planting. Emberreach-season kuma plots in particular can clear 7,000g per tile across a 30-day window, which is roughly double what unmodified ordinary crops earn in the same span.
Should I prioritize single-harvest or multi-harvest crops as a new player?
Multi-harvest crops win long-term, but new players benefit from planting two or three single-harvest ordinary plots alongside them. Single-harvest crops deliver fast early gold that funds your first gene lab upgrades, while multi-harvest vines and shrubs ramp up once they finish their initial grow cycle and start regrowing.
How much do gene modifications change crop profit?
Gene modifications can boost a single crop's profit by 30% to 80%, depending on how many slots you fill and which traits you stack. The biggest gains come from pairing a sell-price gene with a regrow gene on a vine or kuma base, which is why lab access is such a major milestone in any Doloc Town crop profit comparison run.
Does weather really affect crop profit that much?
Yes, weather swings can swing a season's profit by 20% to 40% if you plant the wrong crop in the wrong season. Emberreach heat without a weather-resistance gene can wipe ordinary crops, while Mistshade rain can stunt doomsday seeds. Always match your dominant crop to the current season or budget one gene slot for weather immunity.
Where can I verify the latest crop numbers and patch changes?
Community-maintained resources like the Doloc Town Fandom Wiki track seasonal shifts and gene balance changes between patches, while the official Steam page posts developer notes whenever the crop economy is retuned. Cross-check both before committing to a heavy gene investment, especially around major updates that can shuffle the profit tiers.
What is your current crop rotation in Doloc Town, and which season has given you the best gold returns so far? Share your setup in the comments and compare notes with other vertical-farm operators chasing the top of the leaderboard.