
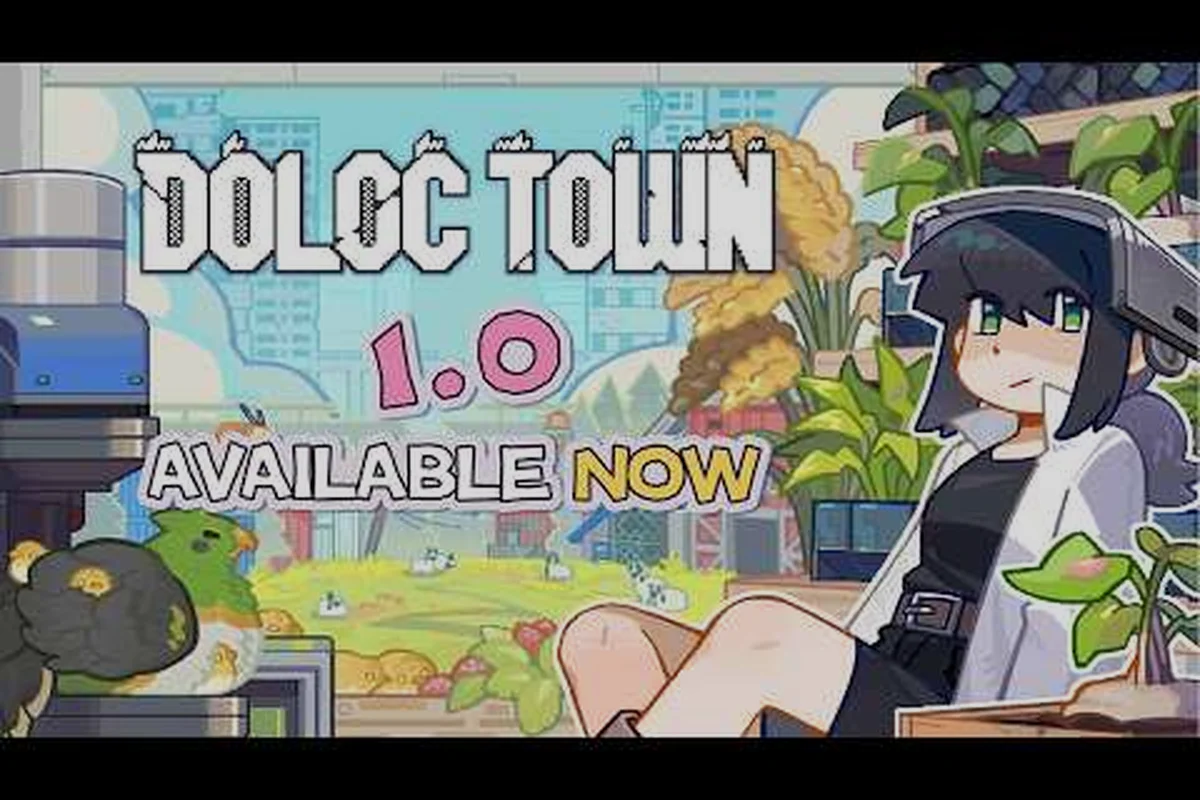
Recovering farmland after an apocalypse is no small feat, and Doloc Town hands you the tools without holding your hand. These Doloc Town tips and tricks cut straight to the systems that matter most in the first 30 hours: scrap economy, vertical farming, the gene-breeding lab, and the tech tree that unlocks the rest of the map. If you want a clear Doloc Town walkthrough that skips the guesswork, the breakdown below is built for new survivors picking up the 1.0 release on Doloc Town on Steam.
Essential Doloc Town Tips and Tricks for New Survivors
The first in-game week is where most runs stall. Players who rush straight into planting waste seeds on infertile tiles, while players who over-invest in tools end the day with empty stamina and a half-built plot. The Doloc Town tips and tricks that actually compound over time all share one trait: they front-load decisions about layout and resource flow before the narrative branches open.
Before you place a single seed bed, take ten minutes to walk the perimeter of the homestead. Tile fertility, water access, and scrap spawns vary dramatically across the map, and the location of your Vertical Farm Module determines how efficient your late-game energy loop becomes. If you have not unlocked the module yet, the getting started guide maps the unlock path in detail.
Starting the Farm Right
Proti — the default playable character — arrives with a rusty hoe, three starter seeds, and a backpack that holds exactly twelve slots. Every early choice should respect that inventory cap, because over-encumbering yourself at the start triggers stamina drain that no beginner can afford. Treat the first season as a scouting run rather than a profit run.
Here is the order of operations community testers consistently recommend after the 1.0 patch:
-
Clear two adjacent dirt plots on the highest-fertility tile near the well.
-
Plant Wasteland Wheat as your first crop; it is forgiving on watering and sells for a stable price.
-
Save all uncommon scrap until the Workbench unlocks Tier-1 Tool Upgrades.
-
Avoid buying furniture from the Wandering Trader on day one; her markup averages 40% above the market rate, based on community data.
-
Sleep before midnight on day three to trigger the First Harvest dialogue and a free fertilizer reward.
Daily Routine Checklist
A predictable rhythm saves stamina and prevents the most common soft-lock: running out of water mid-plot. The loop below assumes a standard 12-minute in-game day.
| Time Block | Primary Task | Stamina Cost |
|---|---|---|
| 06:00 – 08:00 | Water crops, harvest ready plots | Low |
| 08:00 – 12:00 | Explore one new map sector, gather scrap | Medium |
| 12:00 – 14:00 | Cook one meal, sell surplus at the kiosk | Low |
| 14:00 – 18:00 | Craft upgrades or tend to gene lab | High |
| 18:00 – 21:00 | Second exploration sweep or fishing trip | Medium |
| 21:00 – 06:00 | Sleep to restore stamina and trigger events | None |
Stick to this skeleton for your first in-game month and you will rarely starve, run out of water, or miss a timed NPC event.
Scrap Gathering and Resource Management
Scrap is the connective tissue of Doloc Town. It is used for crafting, upgrades, trade, and the rare-recipe unlocks behind several NPC questlines. Most beginners hoard the wrong tier, which forces a painful inventory purge around day ten. The Doloc Town walkthrough tip everyone learns the hard way: only stack Tier-2 Scrap and above in your backpack until you have built at least one storage chest.
Scrap Tier Comparison
| Tier | Common Sources | Best Use | Stack Priority |
|---|---|---|---|
| Tier-1 | Roadside rubble, broken fences | Early tool repairs, basic cooking | Low — sell excess |
| Tier-2 | Abandoned vehicles, warehouse floors | Mid-tier crafting, Workbench upgrades | Medium — keep one stack |
| Tier-3 | Military checkpoints, factory zones | Gene lab recipes, advanced tools | High — never sell |
| Tier-4 | Hidden bunkers, lab caches | Endgame modules, rare furniture | Critical — bank immediately |
Veterans reported by community testers confirm that Tier-3 Scrap is the actual bottleneck, not gold. You can always earn more coins by selling crops, but scrap only respawns when a map sector is reloaded. This is why the Doloc Town 1.0 launch coverage emphasized scrap routing as a flagship mechanic.
Where to Farm Scrap Efficiently
The fastest scrap loops are predictable once you know the spawn timers:
-
The Industrial Sector resets every three in-game days and yields 18–22 Tier-2 scraps per sweep.
-
The Ruined Subway is a one-time deep dive with Tier-4 caches; bring two healing items because the mini-boss hits hard.
-
The Junkyard perimeter offers Tier-1 scrap in massive quantity; perfect for early fuel conversion recipes.
If you find yourself constantly short on inventory space, prioritize the Portable Storage Crate blueprint at the Workbench. It costs 40 Tier-2 scraps and 6 wood planks, and it permanently adds eight backpack slots.
Crops, Genetics, and Vertical Farming
Planting is the surface loop, but the gene system is where Doloc Town earns its 30+ hour runtime. Crossbreeding plants lets you splice traits — drought resistance, faster growth, higher yield — across generations, which transforms a struggling homestead into a self-sustaining engine. If you are brand new to this system, the beginner guide covers the lab unlock path; this walkthrough focuses on optimizing once you have access.
Crop Selection by Season
Choosing the wrong crop for the wrong season is the most common beginner mistake. Doloc Town tracks soil temperature and humidity, not a flat calendar, so seasonal windows shift slightly each playthrough.
| Crop | Best Season | Growth Time | Yield | Notes |
|---|---|---|---|---|
| Wasteland Wheat | Spring / Autumn | 4 days | Medium | Easiest first crop |
| Iron Carrot | Winter | 6 days | High | Unlocks with Tier-2 scrap |
| Glow Radish | Summer | 5 days | High | Required for gene lab |
| Dust Melon | Summer | 7 days | Very High | Premium vendor price |
| Ash Potato | Autumn | 5 days | Medium | Great for cooking |
| Crystal Berry | Winter | 8 days | Very High | Needs greenhouse |
Plant at least one Glow Radish in summer, because it is a hard prerequisite for the gene lab's first crossbreeding slot. Without it, the entire breeding chain stalls, and you will lose weeks of progress.
Gene System Quick Reference
The gene lab accepts two parent plants and outputs an offspring whose traits blend according to a hidden dominance table. Community research has surfaced the rough inheritance rules below.
| Parent A Trait | Parent B Trait | Offspring Bias |
|---|---|---|
| Fast Growth | Fast Growth | 80% Fast Growth |
| Fast Growth | High Yield | 50/50 |
| Drought Resist | Any | 65% Drought Resist |
| Pest Resist | Pest Resist | 90% Pest Resist |
| High Yield | Drought Resist | 55% High Yield |
The takeaway: pair two specialists to lock a trait, then cross the offspring back to a yield-stat parent to grow the value. A solid first-gen target is Fast Growth + Pest Resist because both parents are easy to source.
Exploration, Fishing, and Side Activities
Exploration feeds back into your farm faster than any other activity, because every new sector you clear unlocks vendors, recipes, and gene lab inputs. Players who skip exploration to "play it safe" hit a wall around the 20-hour mark when the basic crops stop scaling. The Doloc Town walkthrough philosophy is to spend at least one full in-game afternoon per week opening new territory.
Best Early Fishing Spots
Fishing doubles as a relaxation mechanic and a quiet gold farm. The community-maintained Doloc Town All Fish Locations guide lists every pond on the map, but the three best starter spots are:
-
The Reservoir near the Mill — high bite rate, common fish, respawns daily.
-
The Toxic Lake in the eastern swamp — rare fish, but requires a Lvl-2 Tackle Box.
-
The Underground River beneath the subway — exclusive to a single questline, so do not waste bait here.
NPC Quests Worth Prioritizing
Not every side quest is worth the detour. The list below filters for rewards that meaningfully accelerate your main progression.
| NPC | Quest Name | Key Reward |
|---|---|---|
| Mira | The Greenhouse Blueprint | Unlocks winter planting |
| Old Tomás | Subway Clearance | Tier-4 scrap map markers |
| Lena | First Crossbreed | Free gene lab fuel |
| Dr. Kael | Lab Reactivation | Vertical Farm Module |
The Lab Reactivation quest from Dr. Kael is the single most important side objective in any Doloc Town tips and tricks guide, because the Vertical Farm Module it unlocks produces three harvest cycles per in-game month instead of one.
Advanced Strategy: Tech Tree and Town Progression
Once your farm is self-sustaining, the late-game question becomes how to spend the limited tech points you earn from completing major quests. Burning points on flashy items before the basics are online is a classic beginner trap.
Research Priority Order
| Priority | Tech | Reason |
|---|---|---|
| 1 | Improved Water Pump | Doubles plot watering radius |
| 2 | Auto-Harvester | Frees afternoon stamina block |
| 3 | Advanced Gene Lab | Enables three-parent crossbreeds |
| 4 | Solar Grid | Removes daily fuel cost |
| 5 | Town Hall Network | Unlocks cooperative events |
The order matters because each upgrade builds on the stamina and time savings of the previous one. Skipping straight to Solar Grid sounds appealing but leaves you manually watering dozens of plots every morning.
Late-Game Loop to Aim For
A optimized hour-30 farm follows this cadence:
-
06:00 – Auto-watered crops (thanks to Improved Water Pump).
-
08:00 – Harvest runs through the Auto-Harvester.
-
10:00 – One new gene crossbreed queued at the lab.
-
12:00 – Cook three meals and sell surplus at the kiosk.
-
14:00 – Explore one unexplored tile or finish a side quest.
-
21:00 – Sleep, save, and reload the next sector to refresh scrap spawns.
If you are ready to push deeper into specific minigame loops, the useful tips article expands on combat, cooking combos, and hidden event chains.
Frequently Asked Questions
What is the very first thing I should build in Doloc Town?
Prioritize the Workbench as soon as you have six wood planks. Every other crafting station requires it, and the Tier-1 tool upgrades it unlocks immediately cut your daily stamina cost by roughly 20%. Farming tools before plots is a deliberate inversion of the usual RPG loop, but it pays off within the first in-game week.
How long does it take to finish the main story in Doloc Town tips and tricks?
A focused Doloc Town walkthrough run clears the main questline in 22 to 28 hours, which is in line with the developer's claimed 30+ hour core experience. Completionists who chase every fish, gene combo, and NPC affinity threshold usually land between 45 and 60 hours.
Can I respec my gene lab crossbreeds?
Yes, but it costs Bio-Fuel, a craftable item that requires Tier-3 scrap and Glow Radishes. Each respec consumes one unit of fuel, so plan your crossbreed queues carefully before committing. Beginners should batch their experiments into groups of three or four to avoid burning fuel on throwaway pairs.
Where do I find the Vertical Farm Module blueprint?
The blueprint drops from the Dr. Kael Lab Reactivation quest, which becomes available after you finish the second main-story chapter. Bring at least ten healing items and two spare tools, because the lab segment includes a sustained combat encounter that punishes players who arrive under-geared.
Is there a way to make scrap respawn faster?
Scrap respawn timers are fixed, but you can shorten your farming loop by sleeping through the in-game night at a base camp inside the target sector. This trick, confirmed by community testers, effectively skips one full respawn cycle and is one of the most reliable Doloc Town tips and tricks for speedrunners.
Got a favorite crop, gene combo, or fishing hole that this walkthrough missed? Drop your best Doloc Town tips and tricks in the comments — the community swaps a fresh discovery almost every week, and your hidden cache might become the next guide update.