
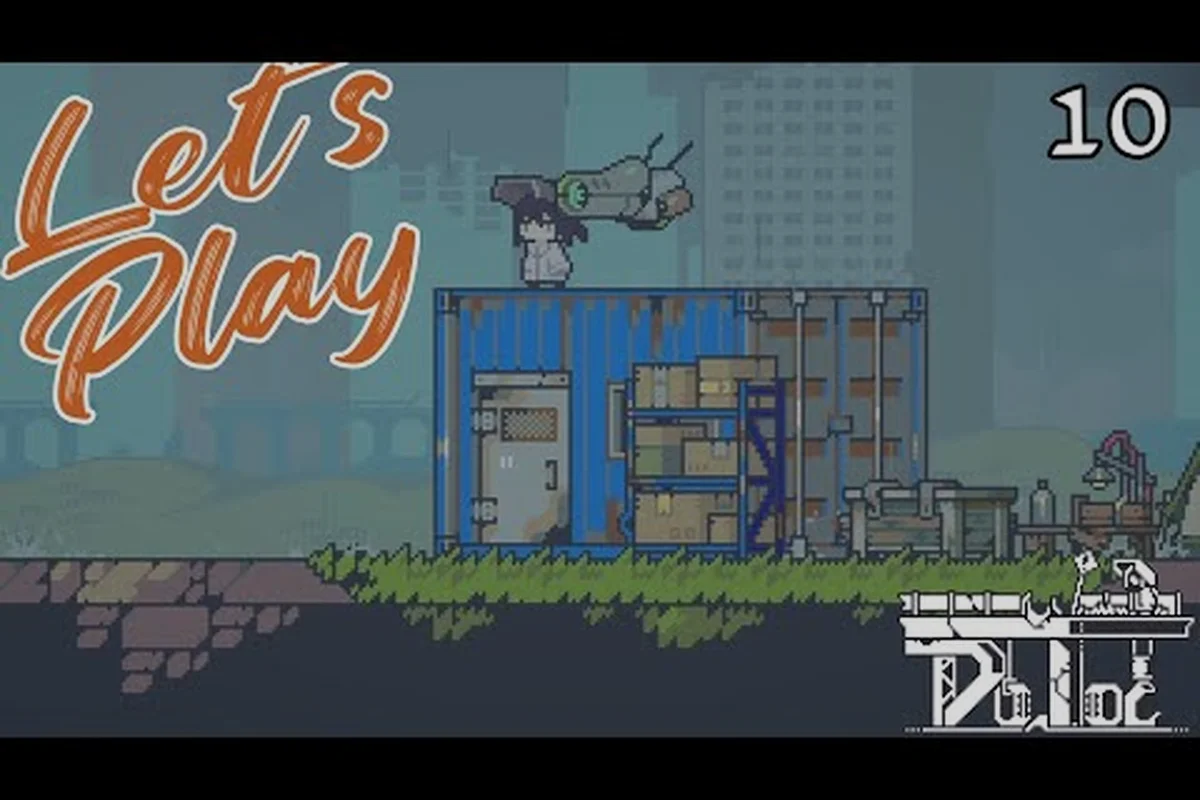
Building Foundations in Doloc Town
A complete Doloc Town building guide starts before you place a single platform, because this post-apocalyptic farming sim flips the traditional Stardew-style layout upside down. Instead of carving rows across flat ground, you stack grow beds skyward on vertical farm platforms, turning the ruins of the settlement into a tiered food factory. The 1.0 release introduced full automation that ties directly into how you arrange those tiers, so layout choices made on day one ripple all the way to your drone stations and power grid later.
If you're still learning the basics of survival, the Doloc Town beginner guide covers combat, scavenging, and early-crop choices. Once you've stabilized, the build phase begins, and it rewards the same planning mindset you used for shelter. The game is on Steam for $19.99 with a current 20% launch discount, and it holds a 95% Overwhelmingly Positive rating from roughly 1,948 reviews at the time of writing.
Your build toolkit has three layers, and you need to understand each before laying foundations:
-
Structural tier — platforms, supports, ladders, and walkways that physically raise your crops.
-
Resource tier — soil plots, sprinklers, fertilizer bins, and storage crates that feed the farm.
-
Automation tier — solar panels, wind turbines, generators, and drone stations added with Doloc Town automation 1.0.
A useful early habit is to plan the vertical farm building with empty platform slots first, then layer resources, then attach power. Skipping the empty-shell step is the single biggest reason new players end up dismantling structures after only a few in-game days. According to community testing, fully reworking a botched layout costs roughly three times the scrap metal and bolts compared with planning it correctly upfront.
| Layer | Primary Materials | Primary Purpose | Unlock Window |
|---|---|---|---|
| Structural | Scrap metal, wood planks, rope | Vertical platform frames | Day 1 onward |
| Resource | Soil bags, water cans, seed boxes | Grow beds and irrigation | Day 2 onward |
| Automation | Copper wire, circuit boards, rotors | Power grid and drones | Day 6 onward (post-1.0) |
Power Grid Setup and Generator Connections
The Doloc Town building guide hinges on a single rule that the developer hammers home in every patch note: no power, no automation. Generators are the heart of your grid, but they are noisy, require fuel, and occupy a generous footprint. With the Doloc Town automation 1.0 update, you can now route that dirty output into solar panels and wind turbines that buffer your supply, which is why planning a power grid is the second step rather than the third.
A common mistake reported by players on the Steam community is connecting drones before the grid has redundancy. A single generator powering three drone stations means one fuel hiccup kills your entire seeding cycle. The fix is to install at least two generators plus one renewable source before activating your first drone station.
Choosing Your Energy Mix
The 1.0 build lets you mix three power sources, and each has a personality that suits different farm sizes:
-
Solar panels — zero fuel, day-only output, ideal for steady seeding routines in the upper tiers.
-
Wind turbines — variable output, work day and night, fit well on exposed rooftop platforms.
-
Diesel generators — constant output, need regular fuel, best used as base-load anchor for the grid.
Power Grid Tier Comparison
| Source | Output Profile | Fuel Cost | Best Use Case |
|---|---|---|---|
| Solar panel | Stable, daylight only | None | Mid-tier watering drones |
| Wind turbine | Variable, 24-hour | None | Rooftop harvesting drones |
| Diesel generator | Constant, on-demand | High | Base-load backbone |
A balanced grid for an early-game farm typically runs one generator as anchor plus two solar panels as buffer, while a mid-game farm expands to two generators and four to six turbines. The grid doesn't have to be pretty on day one, but every cable should run through a power junction so you can isolate a broken segment without shutting down the whole farm.
Platform Placement and Farm Layouts
Once the grid is sketched, the real work begins. The Doloc Town building guide treats platform placement as the most consequential decision in early game because every later system depends on those footprints. Platforms stack vertically in tiers, and each tier needs clear access for both your character and your drones.
A good rule of thumb from experienced players: leave one tile of clearance around every soil plot so sprinkler coverage reaches all four corners without overlap waste. Crowded beds look efficient but starve the corners, which quietly cuts yield by 10–15% according to community data.
For a deeper dive into the mechanics of stacking and supports, the vertical farm building walkthrough maps out exact tier counts for each build phase. If you want to compare specific blueprints side by side, the farm layout guide lays out three tested arrangements.
Recommended Tier Templates
Most builders settle on one of three templates during the first ten in-game days:
-
Compact tower — 3 platforms tall, 2×4 footprint, fast to build, low yield.
-
Wide mid-rise — 2 platforms tall, 4×6 footprint, balanced for solo play.
-
Drone-ready sprawl — 4 platforms tall, 3×5 footprint per tier, built for automation 1.0.
Platform Tier vs. Yield Efficiency
| Layout | Build Cost (Scrap) | Daily Yield | Drone Compatibility |
|---|---|---|---|
| Compact tower | 40 | Low | Poor (tight clearance) |
| Wide mid-rise | 75 | Medium | Fair |
| Drone-ready sprawl | 130 | High | Excellent |
The drone-ready sprawl looks expensive at the start, but the higher yield offsets the cost within roughly eight in-game days. Players who jump straight to it report smoother transitions when they unlock automation, because drones already have the flight paths they need.
Automation 1.0: Drones and Energy Flow
The headline of the Doloc Town 1.0 release is full farm automation, and it is genuinely the biggest shift since early access launched in May 2025. Three drone station types cover the seed-to-harvest pipeline, and each one requires both a power connection and a clear flight path.
-
Seeding drone stations — automated planting, must be paired with a seed box at the same tier.
-
Nurturing drone stations — watering and fertilizing, replace most manual sprinkler maintenance.
-
Harvesting drone stations — crop collection, push output straight into nearby storage crates.
The Doloc Town automation 1.0 systems also introduced generator connection logic that lets drones hop between tiers, which means a single well-placed seeding station can feed multiple lower platforms if the flight corridors are open. The catch is power draw: each drone in flight drains a noticeable chunk of your buffer, so a small grid can stall mid-cycle.
Drone Station Requirements
| Station Type | Power Draw | Adjacent Structure | Daily Output Bonus |
|---|---|---|---|
| Seeding drone | Medium | Seed box | +25% planting speed |
| Nurturing drone | High | Water tank | +30% growth rate |
| Harvesting drone | Low | Storage crate | +20% yield |
If you're focusing purely on platform expansion first, the platform building guide explains how to extend your structural tier without rebuilding your energy layer. For a fuller inventory of every construct, the building types list catalogs the entire 1.0 roster.
A practical automation routine looks like this once your grid and platforms are ready:
-
Refuel generators and verify solar or turbine output during the morning cycle.
-
Send seeding drones first to fill empty plots before nurturing drones take over.
-
Rotate nurturing drones every two cycles so the buffer doesn't bottom out.
-
Trigger harvesting drones at the end of the day cycle to clear space for the next seeding pass.
This rhythm keeps the buffer stable because each drone type pulls power at a different phase, smoothing the load across the grid. Players who skip the rotation step often complain about "power brownouts" mid-day, which freeze drones in place and waste the cycle.
Farm Expansion and Cellar Upgrades
Once automation is humming, expansion becomes the next frontier. The 1.0 build added farm expansion, which lets you claim additional farming territories beyond the original Doloc Town ruins. Each new territory comes with its own soil quality, weather risk, and platform foundation, so a build that thrived at home might need rework in the new zone.
The cellar upgrade is the other big unlock. Cellars add storage capacity and climate-controlled seed preservation, which matters more once drones start pushing produce in faster than you can sell it. Without a cellar, surplus spoils within a couple of in-game days, which silently drains income that automation worked hard to produce.
Expansion vs. Cellar Priority
The question most players hit around day 15 is whether to expand territory first or upgrade the cellar first. Both have strong cases:
-
Expand first if your current plots are saturated and drones idle waiting for free space.
-
Upgrade cellar first if drones are filling crates faster than you can sell or use the output.
-
Tie if both are bottlenecks — community data suggests this is rare before day 25.
Expansion Unlock Tiers
| Upgrade | Resource Cost | Benefit | Recommended Priority |
|---|---|---|---|
| First territory | 200 scrap, 30 bolts | New platform slot | Medium |
| Cellar tier 1 | 150 scrap, 20 circuit boards | +50% storage | High |
| Cellar tier 2 | 300 scrap, 50 circuit boards | Seed preservation | High |
| Second territory | 350 scrap, 60 bolts | Dual-zone farming | Low (post-cellars) |
The recommendation from veteran builders is straightforward: finish your cellar upgrades before claiming a second territory, because spoilage tax compounds across multiple zones and quietly eats the profit margin that expansion was supposed to deliver.
Frequently Asked Questions
What is the best early-game layout in a Doloc Town building guide?
The wide mid-rise layout balances build cost and yield best for solo players during the first ten in-game days. It leaves room for sprinkler coverage and gives drones enough clearance once you unlock automation in Doloc Town automation 1.0.
Do I need generators if I have solar panels?
Yes, at least one generator should anchor your grid even if you prefer renewables. Solar output drops on cloudy in-game days, and a generator prevents your drone stations from stalling mid-cycle. Pair one generator with two to four solar panels for a stable early grid.
When should I unlock the cellar upgrade?
Upgrade the cellar as soon as your drones start filling crates faster than you can sell. Community testing shows surplus spoils within two in-game days without a cellar, which silently drains the income that your automation was built to produce.
How many drone stations can a single generator support?
A standard generator comfortably supports one seeding and one nurturing drone at the same time. Adding a harvesting drone pushes the buffer close to empty on long cycles, so plan a second generator or a wind turbine before scaling further in your Doloc Town building guide.
Is farm expansion worth it before finishing automation?
Not usually. Expansion multiplies the bottleneck if drones are already saturated, so finish your power grid and at least one drone station of each type first. After that, expansion becomes a clean multiplier rather than another thing to debug.
What's the trickiest part of your current build — power brownouts, tight platform clearance, or drone flight paths? Drop your setup in the comments and the community can help troubleshoot the specific tier count you're working with.